Showing posts with label Eggs. Show all posts

Friday, June 26, 2015

Jalapeno Deviled Eggs

Yum

Hard-boiled eggs, split, and the whites filled with a spicy jalapeno yolk mixture.


Jalapeno Deviled Eggs:  Hard-boiled eggs, split, and the whites filled with a spicy jalapeno yolk mixture.


I think I've mentioned before that I just don't like plain eggs.  I've tried them over easy, sunny side up, scrambled, and hard-boiled but plain eggs just don't do it for me.  It makes me mad because they're inexpensive, easy, and nutritious, but I just don't like them.

I don't like plain eggs, but I do like Jalapeno Deviled Eggs.  [Tweet this]
Jalapeno Deviled Eggs:  Hard-boiled eggs, split, and the whites filled with a spicy jalapeno yolk mixture.

I do like deviled eggs.  There is something about the tangy creamy yolk mixture that makes everything about eggs taste better.  They are fairly easy too (if you can get the peels off your hard-boiled eggs).  Just mix the hard cooked yolks with some mayonnaise, mustard, pickles (or relish), a couple of spices then refill the whites with the yolk mixture.  I happened to be out of pickles so I used pickled jalapenos.  They added a great flavor and heat making these eggs even more devilish.  This is my new favorite way to make deviled eggs (I might expand on the recipe more but definitely keep the jalapenos).

Jalapenos make these eggs even more devilish.  [Tweet this]
Jalapeno Deviled Eggs:  Hard-boiled eggs, split, and the whites filled with a spicy jalapeno yolk mixture.

To make deviled eggs, you need nice looking, peeled, hard-boiled eggs.  I usually have the hardest time getting the peels off.  It takes forever and my poor eggs are all pockmarked from where the shell stuck.  I searched online to find out how to make hard boiled eggs easier to peel and what I found is that you should put cold eggs into boiling water (boil for about 12 minutes and quickly cool them in ice water).  This is not what I was taught for most of my life, but it worked.  Here is another trick I learned recently from Taylor Made Ranch.

Put cold eggs in boiling water for easier to peel hard-boiled eggs.  [Tweet this]
Jalapeno Deviled Eggs:  Hard-boiled eggs, split, and the whites filled with a spicy jalapeno yolk mixture.

Jalapeno Deviled Eggs

Prep time:  15 minutes
Servings:  5

Ingredients:

5 hard-boiled eggs, peeled
1/4 cup mayonnaise
1-2 Tbsp mustard
1/4 cup pickled jalapenos, minced
jalapeno juice (optional)
salt and pepper to taste
sliced fresh jalapeno (optional)
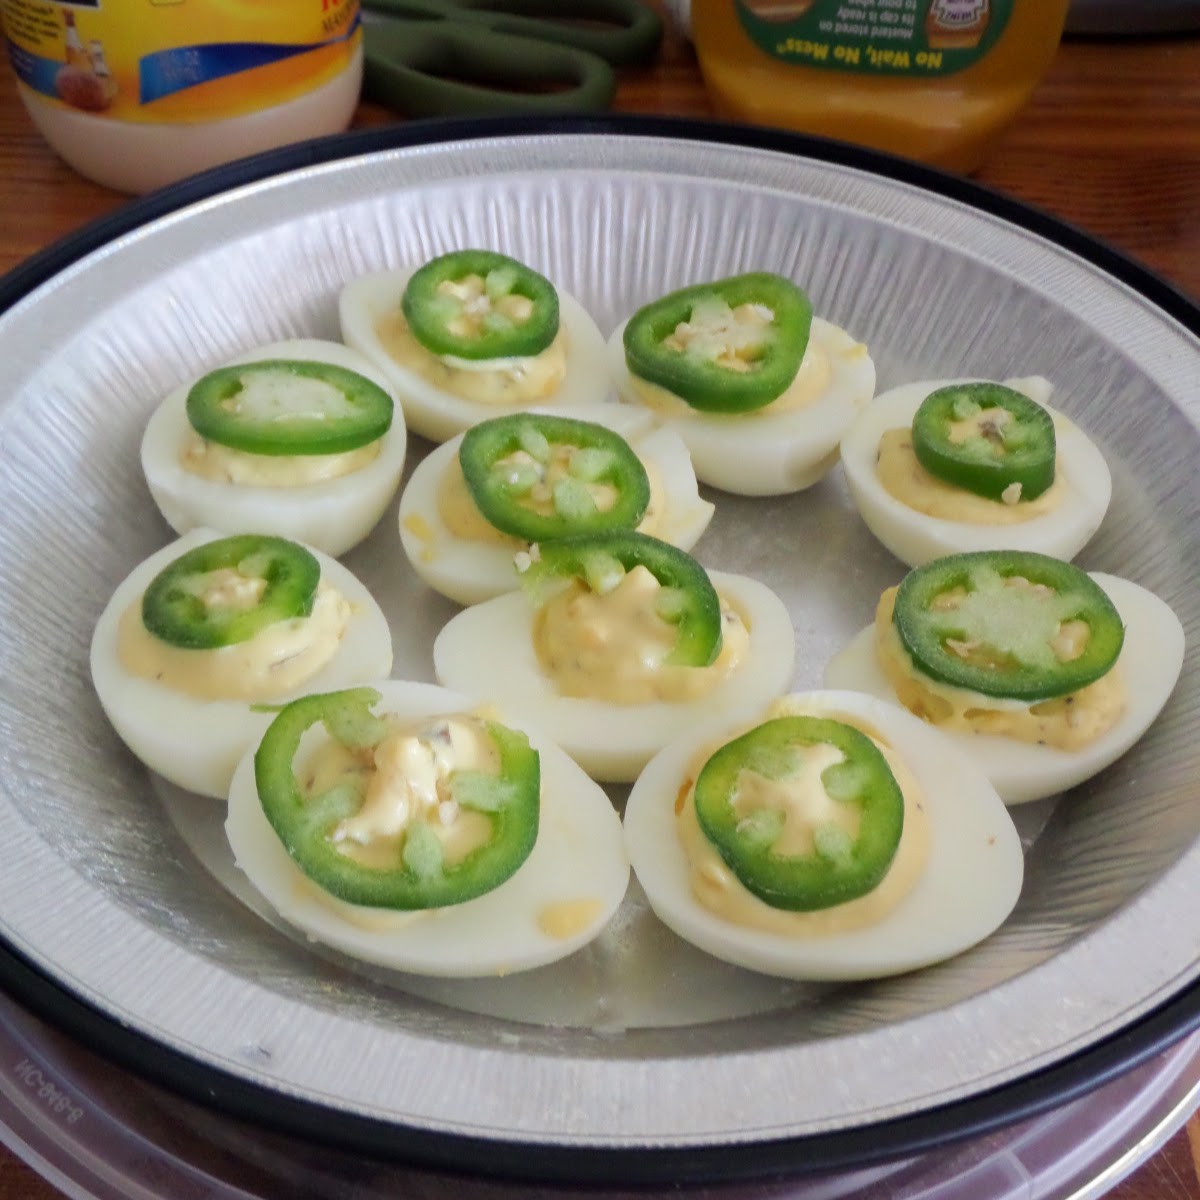
Jalapeno Deviled Eggs:  Hard-boiled eggs, split, and the whites filled with a spicy jalapeno yolk mixture.

Cut the peeled hard-boiled eggs in half lengthwise.  Remove the yolks (keeping the egg whites intact) and place in a medium bowl.

To the yolks add mayonnaise, mustard, and jalapenos.  Mash and mix well until a creamy paste is made.  Add a little of the pickled jalapeno juice if  the paste is too dry.  Taste and add salt and pepper as desired.

Meanwhile, lay out the egg whites, with the hollow up, in a shallow pan. There are special deviled egg pans that have egg shaped impressions to hold the eggs perfectly, but if you don't have one, no worries.  I just placed my eggs on a pie pan touching each other so they wouldn't roll over.

Spoon the yolk mixture into a zippered bag(you can use a piping bag if you have one).  Squeeze it into the corner of the bag then snip the corner of the bag off with scissors.  Pipe the yolk mixture back into the hollow in the egg whites.

Top each egg with a sliced jalapeno garnish, cover the pan, and refrigerate until ready to serve or serve immediately.

Makes about 5 servings.

Enjoy.

Jalapeno Deviled Eggs:  Hard-boiled eggs, split, and the whites filled with a spicy jalapeno yolk mixture.


Mentioned in this post:


How to Hard Boil Eggs:  A simple tutorial on how to hard boil eggs.

Check out some of my other egg dishes:


Linked to:  2 CupTreasure BoxLou Lou GirlsTickle my TastebudsWakeupWhimsyPin WorthyFull Plate, Fun Summer FindsFreedomFoodie Friends

Follow Joy Bee's board Joybee Whats for Dinner blog posts on Pinterest.
Read more ...

Friday, April 24, 2015

Spinach Artichoke Quiche

Yum

A quiche packed with turkey sausage, cheese, spinach, and artichoke hearts.


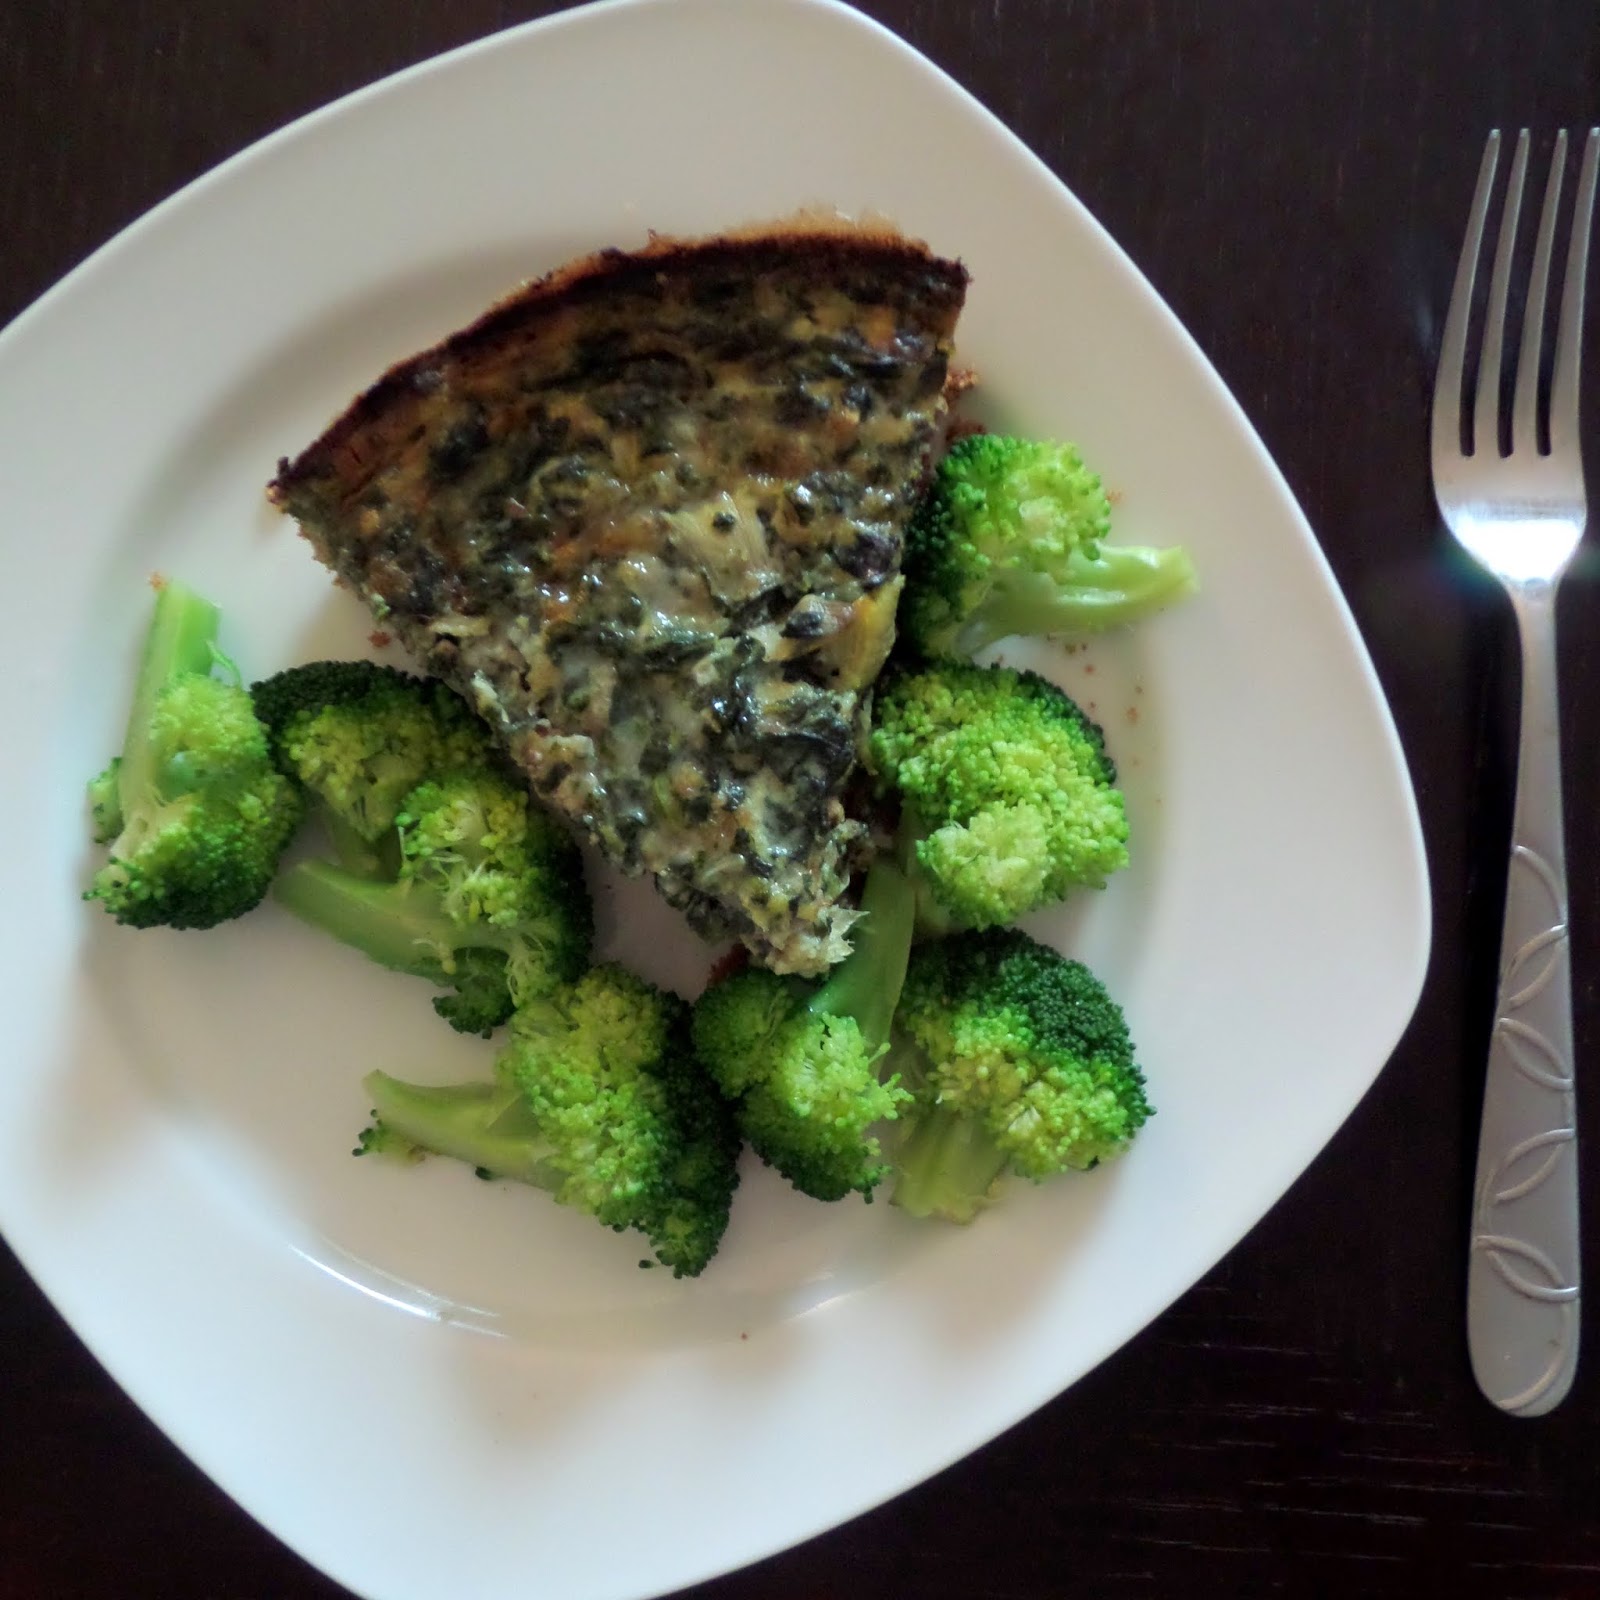
Spinach Artichoke Quiche:  A quiche packed with turkey sausage, cheese, spinach, and artichoke hearts.


I don't like eggs.  I've tried them scrambled, fried, and boiled and I just don't love them.  However, I love quiche.  Probably because there is so much else added in you don't just taste the eggs.  I often need eggs for something I'm baking and most cakes and breads only use a few so I end up with extra eggs.  What is a person who doesn't like eggs do?  I either hard boil them for my husband to have as an after workout snack or I make quiche.  Quiche is one of my favorite egg dishes.

I don't like eggs, but I love quiche. [Tweet this]

Spinach Artichoke Quiche:  A quiche packed with turkey sausage, cheese, spinach, and artichoke hearts.

Many people complain that quiche isn't filling (check out my rant on Quiche) but they must be eating the wrong quiche.  This quiche is incredibly filling and delicious.  It's packed with marinated artichoke hearts, spinach, Monterey Jack cheese, and turkey breakfast sausage.  It's terrific and filling enough for any meal.

Quiche not filling? You're eating the wrong quiche. [Tweet this]

Spinach Artichoke Quiche:  A quiche packed with turkey sausage, cheese, spinach, and artichoke hearts.

Spinach Artichoke Quiche


Ingredients:

1/2 pound ground turkey breakfast sausage
2 cups artichoke heart quarters
2 cups frozen spinach
5-6 eggs
1 cup milk
1-2 cups Monterey Jack cheese, shredded
2 Tbsp granulated garlic or garlic powder
2 Tbsp dried minced onions
Salt and pepper to taste
1 pie crust (I used Easy Pie Crust)

Spinach Artichoke Quiche:  A quiche packed with turkey sausage, cheese, spinach, and artichoke hearts.


Preheat oven to 450F.

Line the pie crust with a double thickness of foil and bake at 450F for 8 minutes.  Uncover and continue to bake for 3-5 minutes more.  Remove crust from oven and lower oven temperature to 325F.

Brown and crumble the sausage over medium heat in a large fry pan until cooked through.  Allow to cool and remove to a large bowl.

Thaw spinach and squeeze out excess moisture.  Place spinach and artichokes in a food processor and pulse a few times until roughly chopped (or chop them by hand).  Add to the bowl of turkey.

To the bowl with turkey, spinach, and artichokes add the eggs, milk, and the rest of the ingredients.  Beat until well mixed then pour into prepared pie crust.

Bake at 325F for 45-60 minutes until set and browned on top (a knife inserted in the center will come out clean).

Remove from oven and let cool for 10-15 minutes before slicing and serving.  Makes 1 8-9 inch quiche.  Serves 6-8.

Enjoy.

Spinach Artichoke Quiche:  A quiche packed with turkey sausage, cheese, spinach, and artichoke hearts.


Other recipes and rant mentioned in this post:

Quiche:  A filling breakfast pie made with eggs, bacon, and cheese.  This delicious, typically, breakfast or brunch item also makes a fine dinner.

For more egg recipes check out:


Linked to:  Pretty Pintastic, Show off, Best of the Weekend, 2 Cup, Treasure Box, Lou Lou Girls, Tickle my Tastebuds, Tasty, Cook Craft Share, Full Plate, Freedom, Foodie Friends

Follow Joy Bee's board Joybee Whats for Dinner blog posts on Pinterest.
Read more ...

Friday, October 3, 2014

Loco Moco

Yum

White rice, smothered in brown gravy and a beef patty, topped with a fried egg.  The Hawaiian breakfast of champions.


Loco Moco:  White rice smothered in brown gravy and a beef patty topped with a fried egg.  The Hawaiian breakfast of champions.


What is a loco moco?  I'm glad you asked.  A loco moco is a common breakfast food here in Hawaii.  It's white rice covered with a beef patty and brown gravy with a fried egg on top.  Usually, the egg is sunny side up (it's best when you have that runny egg yolk to mix with the gravy), but you can choose if you'd like it cooked differently.  I tried for sunny side up but of course when I try to keep the yolk intact I end up breaking it (the next day I was making scrambled eggs and I cracked all the eggs perfectly with no broken yolks...I was so mad).

Loco Moco: the Hawaiian breakfast of champions.  [Tweet this]
Loco Moco:  White rice smothered in brown gravy and a beef patty topped with a fried egg.  The Hawaiian breakfast of champions.

I first had this delicious meal when a Hawaiian friend made it for me in Minnesota (where she now lives and I lived for a few years).  I don't know any of the history behind the loco moco, but I do know it's delicious.  It's super filling and a great comfort food.  I like to think of it as a Hawaiian version of biscuits and gravy (see those are my southern roots talking...but I actually don't like the white gravy on biscuits and gravy I would prefer brown gravy).

A Hawaiian version of biscuitsandgravy | Loco Moco  [Tweet this]
Loco Moco:  White rice smothered in brown gravy and a beef patty topped with a fried egg.  The Hawaiian breakfast of champions.

Loco mocos make a great  breakfast for those early morning football games too.  You can even make this while out tailgating (I imagine that locals here in Hawaii do) you just need to have a rice cooker then everything else can be cooked on the grill.  It's easy and pretty quick too.

Loco Moco: great for football tailgaiting in the AM.  [Tweet this]

Loco Moco


Ingredients:

White rice, cooked
Beef patties (mine were precooked and frozen but fresh grilled are the best)
Fried eggs (sunny side up is preferred, but I broke my yolks...still good though)
*Brown gravy

Loco Moco:  White rice smothered in brown gravy and a beef patty topped with a fried egg.  The Hawaiian breakfast of champions.

*Brown gravy:  1/4 cup butter, 1/4 cup flour, and 2 cups beef broth.  Cook the butter and flour in a skillet over medium heat just until it turns a nice brown color (this is a roux).  Then pour in the beef broth and stir or whisk well.  Allow to come to a boil then lower heat to a simmer.  Allow to simmer until desired thickness.  Lastly, season with salt and pepper to taste. (makes 2 cups)

In your bowl/plate start by adding the rice.  You can use 1 or 2 scoops (as much as you like).

Top the rice with your fully cooked beef patty (I simmered my frozen patties in the gravy to thaw and warm them) and plenty of gravy.

Lastly top with the fried egg.  You can add a bit more gravy on top of the egg but if you have a good sunny side up egg you don't need to because you'll have that nice runny yolk.

Serve immediately. You can add sriracha if you like it spicy (if you look close in the 2nd picture you can see my husband's bowl smothered with sriracha).

Enjoy.

Loco Moco:  White rice smothered in brown gravy and a beef patty topped with a fried egg.  The Hawaiian breakfast of champions.


Linked to:  Best of the Weekend, See ya in the Gumbo, Merry Mon, Two Cup, Teach Me, Lou Lou Girls, Tasty tue, Tickle my Tatebuds, Whimsy, Wonderful Wed, Yuck Stops Here, Wed Roundup, Cook Craft Share, Full Plate, Eat Create, Freedom Fri, Foodie Friends

Read more ...

Monday, March 17, 2014

Egg and Cheese Crepes

Yum

Protein packed crepes filled with more protein of eggs and cheese


Egg and Cheese Crepes:  Protein packed crepes filled with more protein of eggs and cheese.


Crepes are surprisingly simple to make and, no, you don't need special equipment.  A regular 8-10 inch nonstick frying pan works just fine.  I was hungry for breakfast but hadn't gotten groceries in a while so my fridge was pretty bare. I had eggs, American cheese, and milk. I have mentioned before that I don't really like eggs unless they are hidden by other flavors so I decided to use them in crepes and smother them in cheese. This turned out to be a very eggy breakfast because crepes are mostly eggs and then my filling was also eggs but I loved it. It was very tasty and very filling.  This was a meatless and protein packed breakfast.

Egg and Cheese Crepes:  Protein packed crepes filled with more protein of eggs and cheese.

Egg and Cheese Crepes


Egg and Cheese Crepes:  Protein packed crepes filled with more protein of eggs and cheese.

Ingredients:

Sourdough crepes batter or your regular crepe batter
3-4 eggs
American cheese slices or shredded cheese of your choice
Milk
Salt & pepper
1 cup frozen chopped spinach, thawed (optional)
Hot sauce (optional)
Assorted spices (optional)

Egg and Cheese Crepes:  Protein packed crepes filled with more protein of eggs and cheese.

Mix together the crepe batter and set aside.

In a separate bowl, beat the eggs and some milk (about 1/4-1/2 cup) until thoroughly mixed.  Season with salt and pepper and add any optional ingredients you like.  (I always add hot sauce to my scrambled eggs, and onion and garlic powder. The spinach gives this a little more nutrition but it's fine without.  If you have left over ham or chicken you can add that too.) Set aside.

Heat a non stick frying pan over medium heat and rub with butter or oil.  Pour one ladle full of the crepe batter on to the center of the hot pan.

Pick up the pan and rotate it spreading the batter into a wider circle until the batter no longer moves.  A great picture tutorial, from About.com, is here.  Place the pan back on the burner.

Gently run a spatula along the edges of the crepe to loosen.  When the batter is set and no longer shiny lift and flip the crepe.

Once crepe is flipped, pour about 1/4 cup of the egg mixture on to the crepe and top with some cheese.  Wait for the egg mixture to get mostly set and the cheese to slightly melt, then, fold the crepe in half.  Slide out of the pan onto a plate and fold in half again.

Repeat the process until all of the batter and egg mixture is used.  Makes about 5-6 crepes.

Enjoy.

Egg and Cheese Crepes:  Protein packed crepes filled with more protein of eggs and cheese.


Linked to:  Random Recipe Roundup, Much Ado About Monday, Two Cup Tuesday, Tasty Tuesday, Brag About It, Whimsy Wednesday, Eat Create Party, Freedom Friday, Best of the Weekend, Show Stopper, Shine a Spotlight, Saturday Night Fever

Follow Joy Bee's board Joybee Whats for Dinner blog posts on Pinterest.
Read more ...

Thursday, October 31, 2013

Best of the Month September 2013

Yum

A recap of my most popular blog posts of September


Best of the Month September 2013:  A recap of my most popular blog posts of September 2013

Happy Halloween everyone.  I added a couple of skull and crossbones to my best of the month picture to celebrate.

Anyway, I had another great month for my blog.  I'm still doing what I've been doing with a couple of additions.  I learned this month how to properly post on G+ so that all of my +1's show up (only have 1 link in your post).  I also started sharing my blog posts on a few different food blog/blogging communities.  Most notably G+ Share Tribe a community that encourages the sharing of others' posts thereby getting your own shared more.  I'm sharing more of others' work and meeting new people and making more friends.

The thing I am most proud of from this month's posts is that Foodista chose one of them for their blog of the day.  I'm so honored by this and many more people saw my blog...how cool.


Football season has started and this was one of my gameday snacks.  French toast strips wrapped in bacon and served with maple syrup for dipping. These can be made ahead of time and then baked when needed.  They make a great breakfast or snack for early morning kickoff (6AM here).  This post was chosen as Foodista's blog of the day on Oct. 14th.  This helped spread the word and got this post many more views than usual.  Bacon Wrapped French Toast  is my most viewed blog post from September with 537 views and 44 +1s (and still going up).  I'm so happy with this post, it may not be a lot of views for some people's standards, but for me this is hitting it big.


This is another gameday morning breakfast or snack.  When I think football and breakfast I have to have bacon.  This is a cinnamon bun recipe topped with a maple syrup, bacon and pecan glaze.  A bit time consuming but it can be made a head of time and then baked when needed (it takes a few hours to warm up before baking).  I don't know how to describe how delicious this was, sweet and salty, YUM. I found out yesterday that this was finally accepted to DesertStalking (it only took a month).  This post comes in second with 283 views and 50 +1s.

Slow Cooker Shredded Barbecue Chicken

Pin It


This is a very simple and delicious recipe with only 2 ingredients, cooked in a slow cooker.  Great for parties or a weeknight dinner.  It came in third with 249 views and 26 +1s.


This is just a simple tutorial on how to hard boil eggs.  I don't often hard boil eggs and usually have to look up how to do it, so I thought there might be others out there like me.  This post has 227 views and 5 +1s (this was from the beginning of the month before I began sharing on more communities).


This is another tutorial about how to turn plain ground pork into Mexican chorizo by adding some spices.  It is simple and tastes great and is much easier than trying to find a place that sells chorizo.  You could even try it with ground chicken for a less fatty version of chorizo.  This received 170 views and 51 +1s.

I'm learning new ways to promote my blog all the time and I hope to continue increasing my views. Thanks to everyone who follows my blog or stops by occasionally.  Your comments and interactions are much appreciated.  Enjoy.
Read more ...

Wednesday, September 4, 2013

How to Hard Boil Eggs

Yum

A simple tutorial on how to hard boil eggs. 


How to Hard Boil Eggs:  A simple tutorial on how to hard boil eggs.

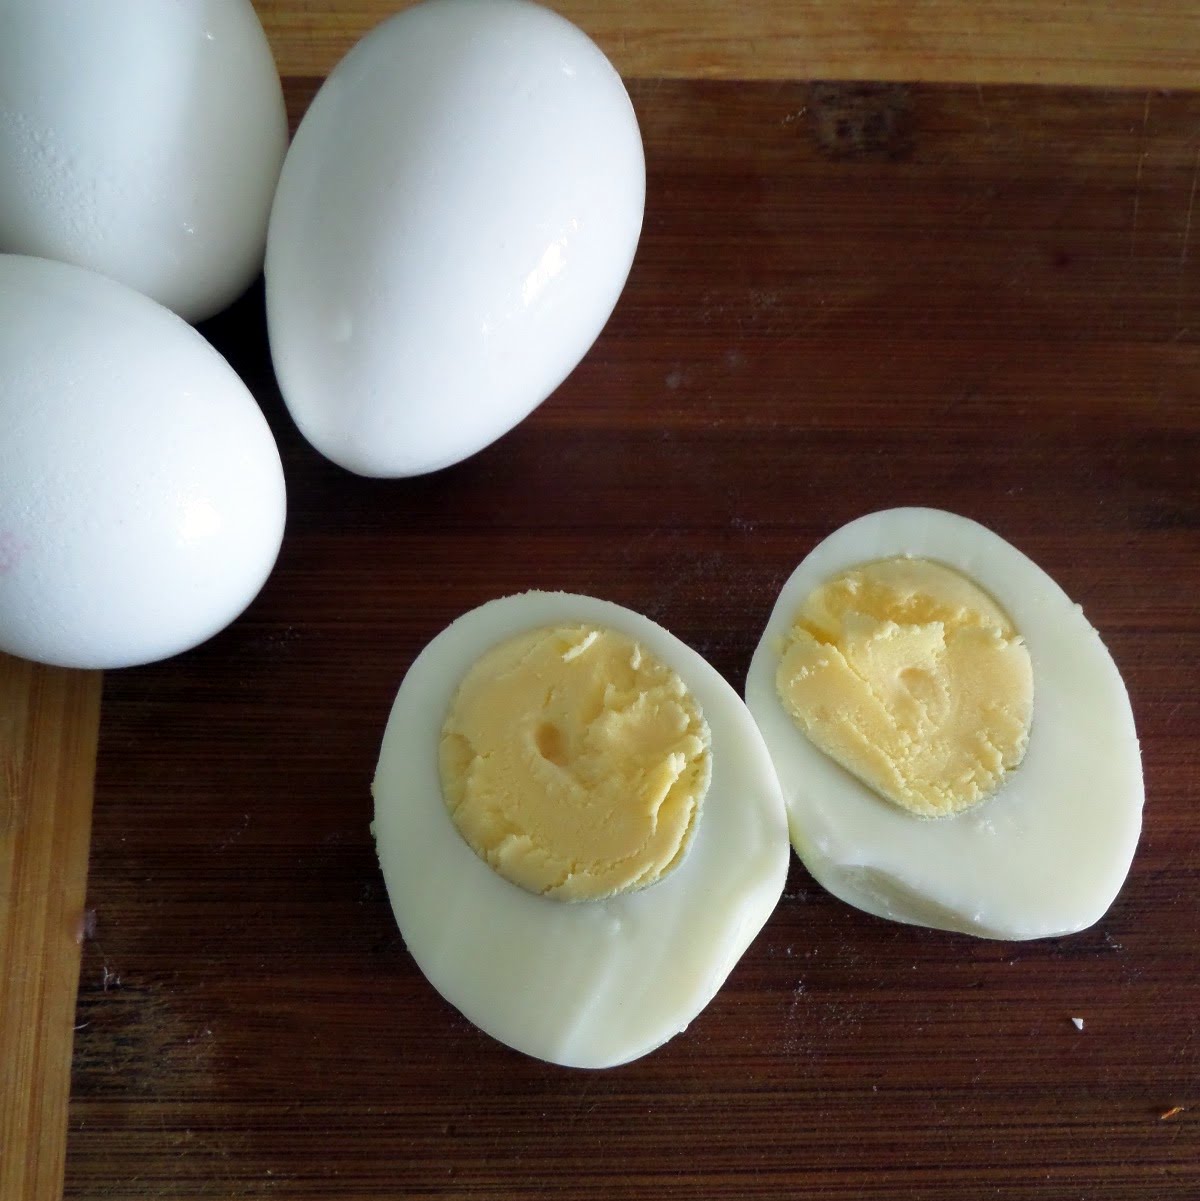
To many I'm sure this tutorial is something you already know.  However, for those, like me, who do not boil eggs often this is good stuff to know.  I don't hard boil eggs very often and I always have to look in my 'Better Homes' cookbook to remind me how to do it right.  One day recently a friend even texted me asking how to hard boil an egg so that sealed the deal and I decided to make this tutorial.  If you boil the eggs too long the yolks turn an unattractive grey color, they still taste the same but just don't look as great so with that in mind here is my tutorial.

Place eggs in a single layer in a sauce pan or pot.  Fill the pan with cold water until the eggs are covered.


Add a little salt, thought to make the eggs easier to peel, and vinegar to help keep the egg whites from leaking if there are any cracks (some people think this affects the taste, I usually only add the salt but both are optional).  Bring the water to a boil and immediately remove from heat and cover.


Let eggs sit, covered, for 15 minutes (it may take a little longer if you are boiling a lot of eggs).  Drain and rinse in cold water until cool enough to touch.


Peel and eat, chop, or slice.  You can also refrigerate, unpeeled, until ready to use.


**New tip (6/25/15):  For easier to peel eggs start the water boiling first.  Add cold eggs to the boiling water and boil for about 12 minutes.  Place the hot eggs into an ice water bath to quickly cool them and stop the cooking.  When cold crack all over and remove peel under running water.

Did you forget to mark your boiled eggs before putting them in the refrigerator?  Having a hard time telling the difference between the boiled eggs and the raw?

Try spinning the eggs.  The hard boiled eggs will spin faster than the raw (and the raw have a difficult time spinning).

Shine a flashlight through the egg.  If the light shows through it is raw, the light will not pass through a hard boiled egg.

Gently shake the eggs, you can feel the raw egg insides slosh.

Mark the boiled eggs with a pencil or marker.


Read more ...